Fillable I-9 Form
Complete Form I-9, Employment Eligibility Verification, online for free. AI-powered assistance helps employers and employees fill out the I-9 accurately and stay compliant.
USE FORM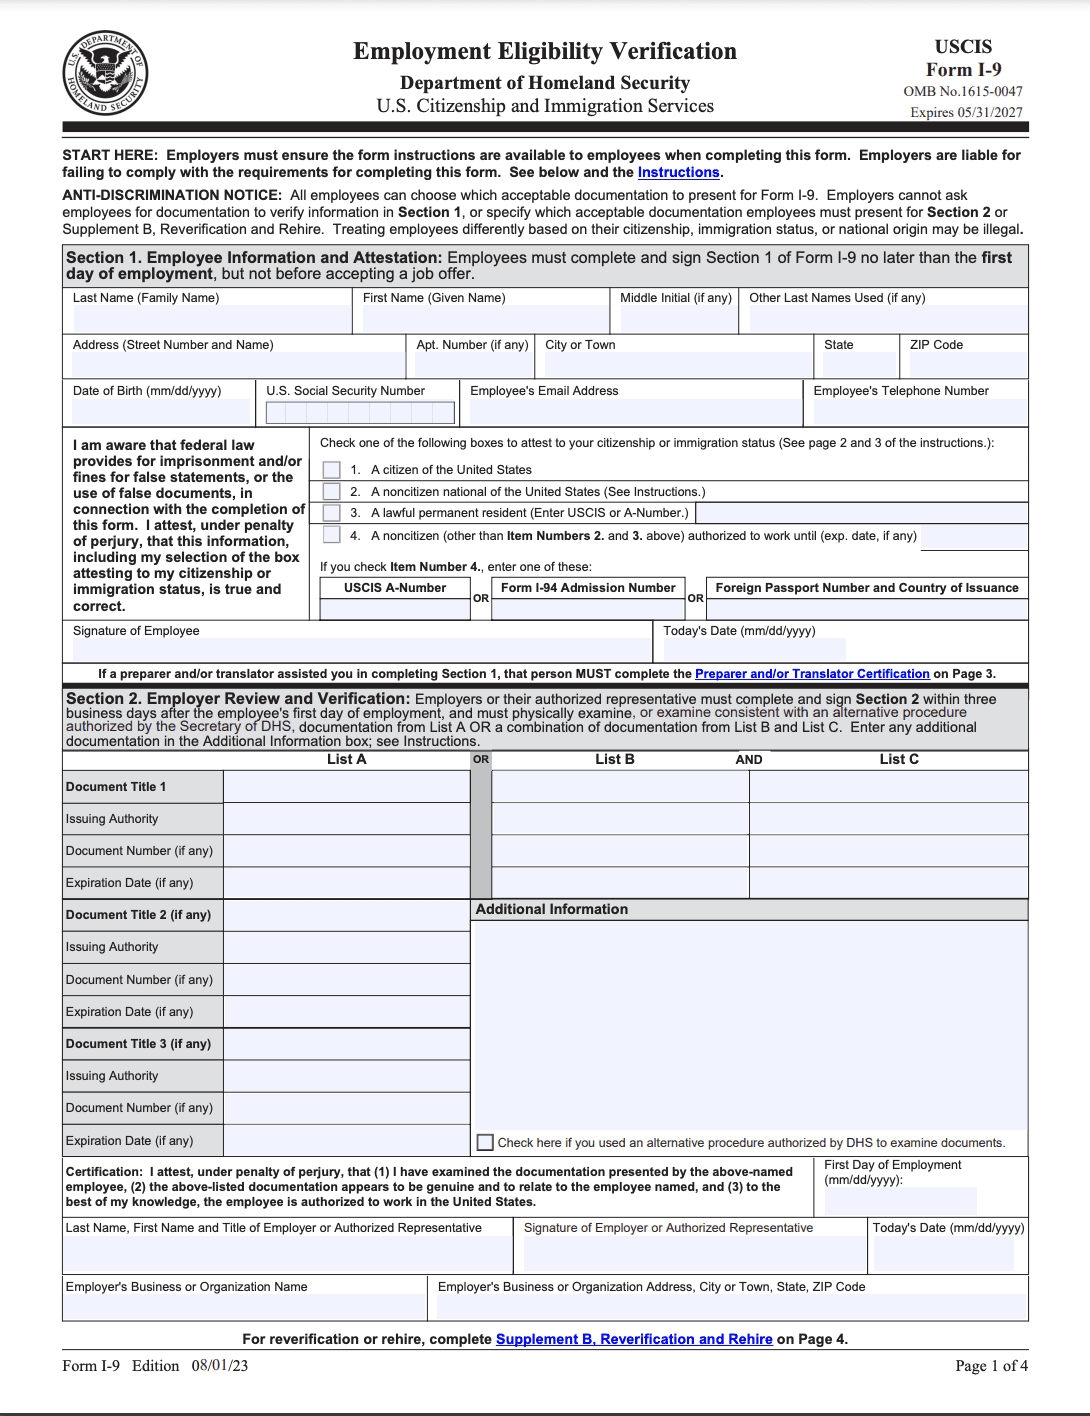
What Is Form I-9?
Form I-9, Employment Eligibility Verification, is a U.S. Citizenship and Immigration Services (USCIS) form that employers are required to use to verify the identity and employment authorization of every individual hired for employment in the United States. Both the employee and the employer must complete their respective sections of the form.
Who Needs to Complete Form I-9?
- Every new employee hired after November 6, 1986, must complete Form I-9
- Employers of all sizes are required to have a completed I-9 on file for each employee
- Certain reverification situations require updating Section 3 of the form
The only exceptions are employees hired before November 7, 1986, who have had continuous employment, and certain intermittent domestic workers.
How to Fill Out Form I-9
Section 1: Employee Information (Completed by Employee)
The employee must complete Section 1 no later than the first day of employment:
- Enter your full legal name (last name, first name, middle initial)
- Provide other last names used, if any
- Enter your address, date of birth, and Social Security number
- Select your citizenship or immigration status
- Sign and date the form
Section 2: Employer Review (Completed by Employer)
The employer must complete Section 2 within three business days of the employee's first day of work:
- Review original documents presented by the employee
- Record document title, issuing authority, document number, and expiration date
- Select documents from List A (identity and work authorization) or one from List B (identity) and one from List C (work authorization)
- Enter the employee's first day of employment
- Sign, date, and provide employer information
Section 3: Reverification and Rehires
Employers complete Section 3 when:
- An employee's work authorization has expired and needs reverification
- An employee is rehired within three years of the original I-9 date
Acceptable Documents
List A: Documents That Establish Both Identity and Employment Authorization
- U.S. Passport or U.S. Passport Card
- Permanent Resident Card (Form I-551)
- Foreign passport with temporary I-551 stamp
- Employment Authorization Document (Form I-766)
List B: Documents That Establish Identity
- Driver's license or state-issued ID card
- School ID card with photograph
- Voter registration card
- U.S. military card or draft record
List C: Documents That Establish Employment Authorization
- Social Security card (unrestricted)
- Birth certificate issued by a state, county, or municipal authority
- U.S. Citizen ID Card (Form I-197)
- Native American tribal document
Fill Out Form I-9 Online with Popform
Popform makes I-9 compliance easier:
- AI-powered guidance walks both employees and employers through each section
- Document checklist helps identify which documents to present
- Error detection catches incomplete or inconsistent entries
- Compliant formatting ensures the form meets USCIS requirements
- Save and download your completed I-9 as a PDF
Frequently Asked Questions
How long must employers retain Form I-9?
Employers must retain Form I-9 for three years after the date of hire or one year after the date employment ends, whichever is later.
Can I complete Form I-9 remotely?
As of August 1, 2023, the DHS allows certain E-Verify employers to use an alternative procedure for remote document examination. Otherwise, documents must be examined in person by the employer or an authorized representative.
What happens if the I-9 is not completed on time?
Failure to complete Form I-9 on time can result in civil penalties ranging from $252 to $2,507 per violation for first offenses, with higher penalties for repeat violations.
Can an employee choose which documents to present?
Yes. The employee has the right to choose which acceptable document(s) to present from the Lists of Acceptable Documents. Employers cannot specify which documents an employee must show.